
PoS Registration Tutorial
Staking
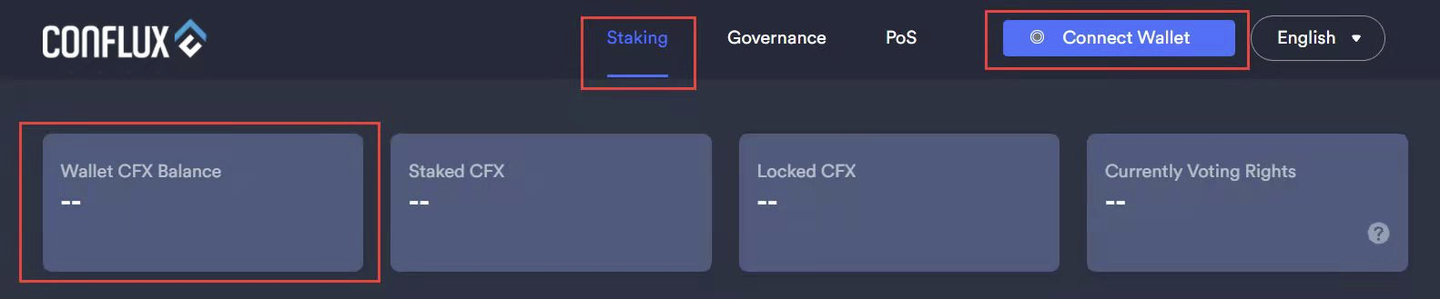
Access https://governance.confluxnetwork.org/en/ in the browser and connect your Fluent Wallet (using the Conflux Hydra).
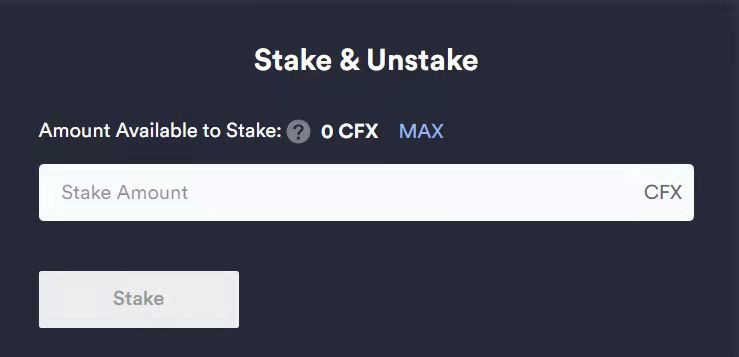
Choose the staking CFX amount (at least 1000). Then click “Stake”. This action needs to be confirmed in the Fluent.
2. Registration
After staking, choose PoS here.
In the empty space under the ‘run’ directory, press ‘Shift’ + right-click and click “Open Windows Powershell Here”
Then, copy-paste and run the following command:
./conflux rpc local pos register --power 1

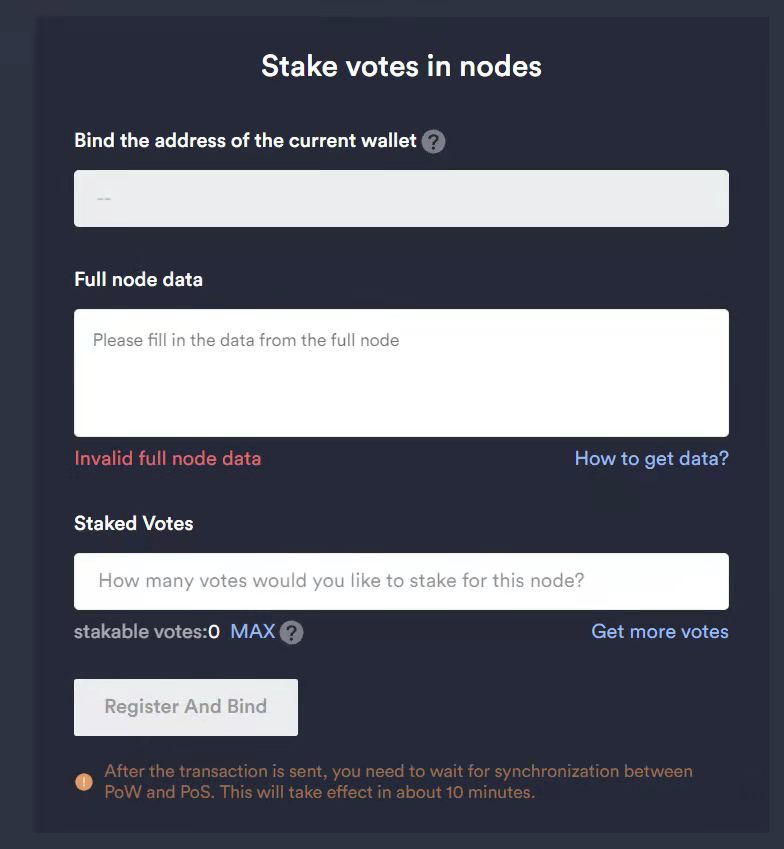
The first returned value is the data field required when registering for PoS transactions. The second returned value is the address of the PoS account.
Then paste the data field above to “Full node data”, and enter the votes you would like to lock (1000 CFX for 1 vote). Confirm in the Fluent.
To prevent forceRetired when your PoS voting node restarts, it is recommended to perform the following operations:
- If you run
./conflux RPC local PoS stop_electionon the PoS node, the node will return either NULL or a future PoS Block Number. After the command has been executed, the node will not apply to join the PoS committee for the next round. - If the Block Number is returned, keep the node running. Run the same command again after the PoS block of the returned block number has been generated (est. several hours later). At this point, NULL should be returned. The node will no longer receive PoS rewards after this block.
- If NULL is returned, the node is safely stopped. The PoS voting process will resume to normal automatically after the node has been restarted (est. 2-3 hours to generate new PoS rewards).